Ever wondered why your pool games feel a little off? Maybe it's not you—it's how you're racking those balls. Properly racking pool balls isn’t just about setting up the game; it’s about setting yourself up for success. Whether you're a casual player or a tournament pro, mastering the art of racking can make all the difference in your game.
Let's be honest, we've all been there. You’re ready to play, but the rack feels loose, or the balls scatter everywhere after the break. It’s frustrating, right? But don’t worry, my friend, because today we’re diving deep into the world of proper racking techniques. This isn’t just about lining up the balls—it’s about precision, consistency, and giving yourself the best shot at winning.
So grab your cue stick, pour yourself a drink, and let’s get into the nitty-gritty of how to rack pool balls properly. By the time you finish reading this, you’ll be racking like a pro and leaving your opponents scratching their heads. Let’s do this!
Read also:Angelina Jolies New Love Story A Millionaire Philanthropist And Plans For The Altar
Why Proper Racking Matters
Before we dive into the how-to, let’s talk about why racking properly even matters. You might think it’s just a small part of the game, but trust me, it’s crucial. A well-racked set of balls can lead to better breaks, more control over the cue ball, and ultimately, more wins.
Here’s the deal: when the balls are tightly packed and aligned correctly, the energy from the cue ball transfers more efficiently. This means cleaner breaks, fewer scattered balls, and a higher chance of sinking that first shot. And let’s face it, who doesn’t want to start the game with a bang?
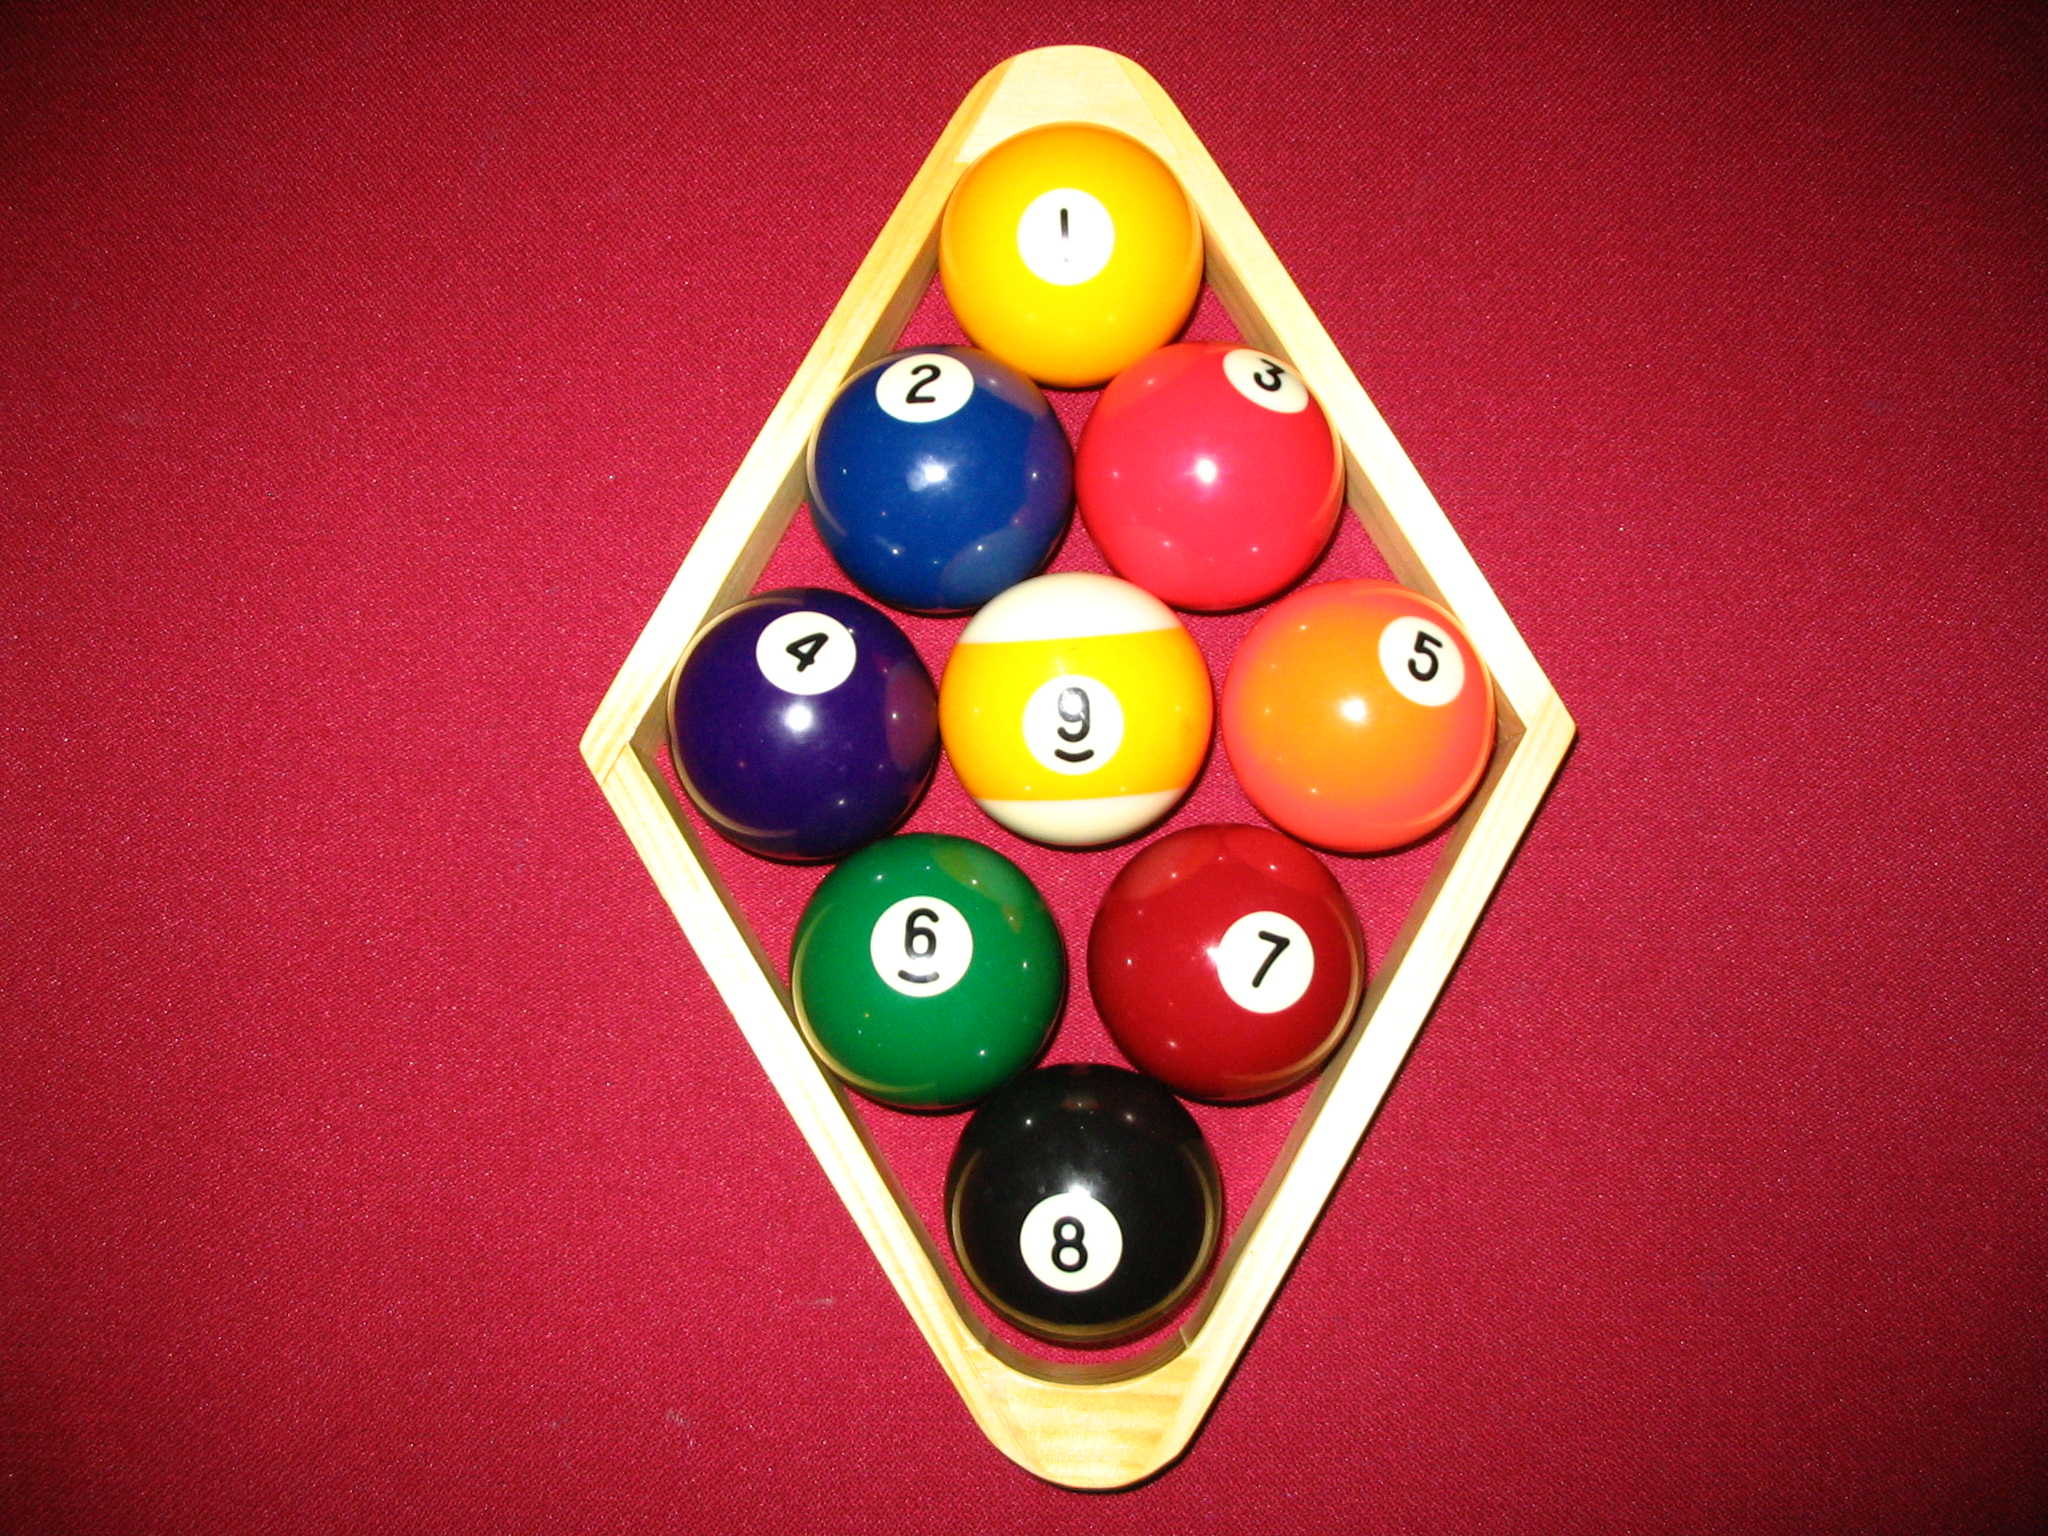
Understanding the Basics of Racking
Before we get into the specifics, let’s cover the basics. The standard rack for most pool games is a triangle shape, and it holds 15 balls. But it’s not just about throwing the balls in there and hoping for the best. There’s a method to the madness, and understanding it will take your game to the next level.
Step-by-Step Guide to Racking
Ready to learn the ropes? Here’s a step-by-step guide to racking pool balls properly:
- Start with the apex ball. This is the ball at the front of the rack, and it should always be the eight ball in games like eight-ball pool.
- Place the one-ball directly behind the apex ball, on the left side.
- Position the two-ball on the right side of the one-ball.
- Fill in the rest of the balls randomly, ensuring they’re tightly packed.
- Make sure the eight ball is in the center of the rack.
See? It’s not rocket science, but it does require a bit of attention to detail. Now let’s dive deeper into some advanced tips.
Advanced Tips for Perfect Racking
Once you’ve mastered the basics, it’s time to take your racking skills to the next level. Here are some advanced tips to help you achieve that perfect rack:
Read also:Who Will Walk Meghan Markle Down The Aisle Royal Drama Unfolds
First things first, invest in a quality rack. Cheap racks can warp over time, leading to loose balls and inconsistent breaks. Spend a little extra on a sturdy, well-made rack, and you’ll notice a difference right away.
Another tip? Use a damp cloth to clean the balls before racking. Dust and dirt can affect the way the balls interact, so keeping them clean is key. Plus, who doesn’t love shiny, sparkly pool balls?
Common Mistakes to Avoid
Even the best players make mistakes sometimes. Here are a few common errors to watch out for:
- Not packing the balls tightly enough. Loose balls lead to weak breaks and scattered shots.
- Forgetting to place the eight ball in the center. This is a big no-no in most games.
- Ignoring the position of the apex ball. Always make sure it’s aligned with the foot spot on the table.
By avoiding these mistakes, you’ll be well on your way to perfecting your racking technique.
The Importance of Table Alignment
Let’s talk about table alignment for a moment. The position of the rack on the table can greatly affect the outcome of the game. The apex ball should always be aligned with the foot spot, which is the diamond on the table where the rack is placed.
Why does this matter? Because it ensures that the cue ball hits the apex ball squarely, transferring maximum energy and leading to a better break. It’s all about physics, baby!
How to Check Alignment
Not sure if your rack is aligned correctly? Here’s a quick trick: stand at the head of the table and look down the length of it. The apex ball should be directly in line with the foot spot. If it’s off, adjust the rack until it’s perfect.
And don’t forget to check the level of the table. Uneven tables can cause the balls to roll in unexpected directions, so make sure everything’s on point before you start playing.
Choosing the Right Rack
As I mentioned earlier, having a quality rack is essential for proper racking. But with so many options on the market, how do you choose the right one? Here are a few things to consider:
- Material: Look for racks made from durable materials like wood or plastic. Avoid flimsy, cheap options that can warp over time.
- Size: Make sure the rack fits your table perfectly. Most standard racks are designed for regulation-sized tables, but if you have a smaller table, you may need a different size.
- Design: Some racks come with extra features, like built-in ball holders or storage compartments. If these appeal to you, go for it!
Investing in a good rack is like investing in your game. It’s worth the extra cost in the long run.
DIY Racking Solutions
Don’t have a rack handy? No problem! Here are a few DIY racking solutions to get you through:
- Use a piece of string or a shoelace to create a makeshift triangle.
- Stack the balls in a pyramid shape using your hands.
- Ask a friend to help you hold the balls in place while you position them.
These methods might not be as precise as using a proper rack, but they’ll do in a pinch.
Practice Makes Perfect
Like any skill, racking takes practice. The more you do it, the better you’ll get. So don’t be discouraged if your first few attempts don’t go perfectly. Keep at it, and you’ll be racking like a pro in no time.
And remember, practice doesn’t just mean racking the balls. It means playing the game, analyzing your breaks, and adjusting your technique as needed. Every game is a learning opportunity, so embrace it!
Drills to Improve Your Racking Skills
Looking to take your racking skills to the next level? Here are a few drills to try:
- Set up the rack and practice breaking without actually hitting the balls. Focus on alignment and precision.
- Try racking the balls in different patterns to see how it affects the break.
- Experiment with different rack materials and sizes to find what works best for you.
These drills will help you develop a deeper understanding of the racking process and improve your overall game.
Conclusion
So there you have it, folks—your ultimate guide to racking pool balls properly. From understanding the basics to mastering advanced techniques, you now have all the tools you need to take your game to the next level.
Remember, proper racking isn’t just about setting up the game; it’s about setting yourself up for success. By paying attention to details like alignment, ball placement, and rack quality, you’ll be well on your way to becoming a pool shark.
Now it’s your turn. Grab that rack, practice those skills, and show the world what you’re made of. And don’t forget to share this article with your friends and fellow pool enthusiasts. Happy racking, and may the best player win!
Table of Contents
- Why Proper Racking Matters
- Understanding the Basics of Racking
- Step-by-Step Guide to Racking
- Advanced Tips for Perfect Racking
- Common Mistakes to Avoid
- The Importance of Table Alignment
- How to Check Alignment
- Choosing the Right Rack
- DIY Racking Solutions
- Practice Makes Perfect
- Drills to Improve Your Racking Skills
/arranging-cue-balls-940411532-5af491cd8023b90036d07b04.jpg)