Alright, listen up, tech enthusiasts! If you're diving into the world of Raspberry Pi and wondering how to SSH into your Pi over the internet, you're in the right place. This guide is packed with actionable tips, tricks, and real-world solutions to help you connect remotely without losing your mind. Whether you're a beginner or a seasoned pro, this is the ultimate SSH tutorial you’ve been searching for.
SSHing into a Raspberry Pi from anywhere on the globe might sound complicated, but trust me, it’s not as intimidating as it seems. With the right tools, setup, and a bit of patience, you’ll be controlling your Pi from across the world in no time. This article will break down every step, so even if you're new to networking and remote access, you'll still follow along smoothly.
Now, before we jump into the nitty-gritty details, let’s address the elephant in the room—security. SSHing into your Pi over the internet means opening up your device to the world wide web. It’s crucial to set up proper security measures to avoid unwanted visitors. Don’t worry; we’ll cover all the essentials, including firewalls, port forwarding, and dynamic DNS services, to ensure your Pi stays safe while being accessible remotely.
Read also:Queen Elizabeths Approval Of Princess Margarets Affair With Roddy Llewellyn A Heartwarming Revelation
Understanding SSH and Why It’s Essential for Pi
SSH, or Secure Shell, is like the secret handshake that lets you securely communicate with your Raspberry Pi from anywhere. It’s basically a protocol that encrypts data between your computer and the Pi, ensuring no one can snoop on your activities. If you’re managing servers, running headless setups, or just want to tinker with your Pi without being physically present, SSH is your best friend.
But why is SSH so important for Raspberry Pi? Well, imagine this: you’ve set up a weather station or a home automation system using your Pi, and you need to tweak some settings while you’re on vacation. Without SSH, you’d have to fly back home just to fix it. Sounds ridiculous, right? SSH eliminates that hassle by giving you remote access, saving you time and effort.
What You Need to Get Started
Before you dive into the process, gather the following essentials:
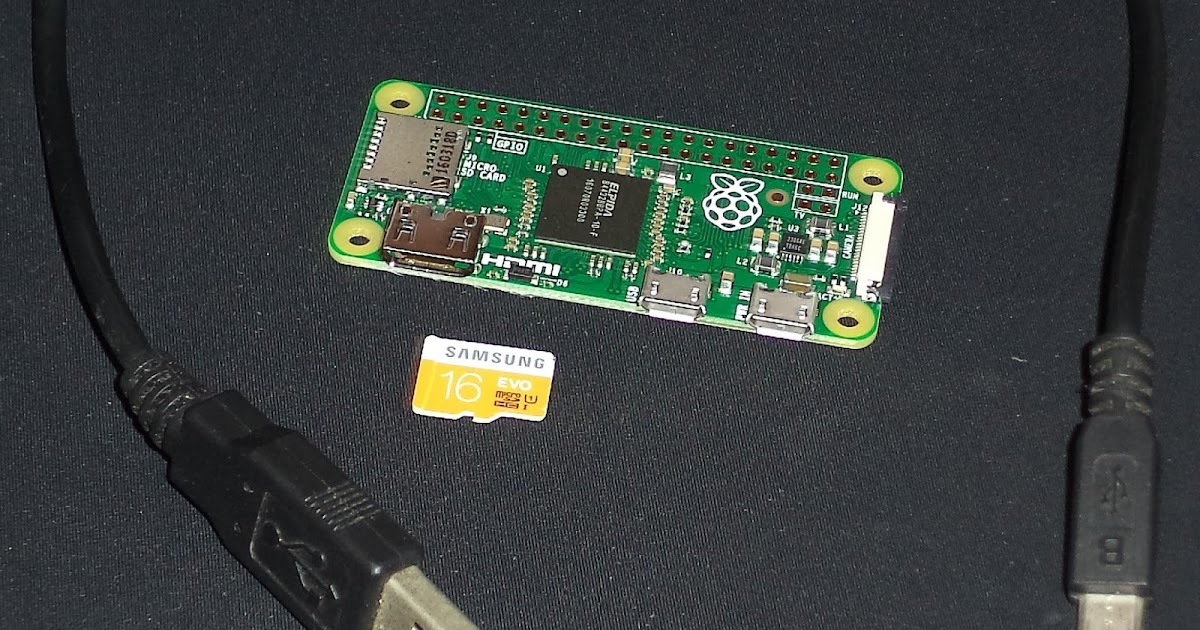
- A Raspberry Pi (duh!)
- A stable internet connection
- An SSH client (like PuTTY for Windows or Terminal for macOS/Linux)
- A static IP address or a dynamic DNS service
- A firewall configured for security
Don’t panic if you don’t have everything listed above. We’ll walk you through setting up each component step by step, so you won’t miss a beat.
Step-by-Step Guide to SSH Into Pi Over the Internet
Alright, let’s get our hands dirty and set up SSH for remote access. Follow these steps carefully, and you’ll be SSHing into your Pi like a pro in no time.
Enable SSH on Your Raspberry Pi
The first step is to enable SSH on your Pi. You can do this in two ways: through the Raspberry Pi Configuration tool or by creating an SSH file on your SD card.
Read also:Remembering Mark Healy How Roseannes Reboot Honors Glenn Quinns Legacy
Using Raspberry Pi Configuration:
- Open the terminal on your Pi.
- Type
sudo raspi-configand hit Enter. - Select "Interfacing Options" and navigate to SSH.
- Choose "Yes" to enable SSH.
- Reboot your Pi with
sudo reboot.
Using an SSH File:
If your Pi is headless (no monitor or keyboard), simply create an empty file named "SSH" (without any extension) on the boot partition of your SD card. When the Pi boots up, it’ll automatically enable SSH.
Find Your Pi’s Local IP Address
Once SSH is enabled, find your Pi’s local IP address. This is crucial for setting up port forwarding later. To find the IP address, open the terminal and type:
hostname -I
This will display your Pi’s local IP address, which usually looks something like 192.168.1.100.
Setting Up Port Forwarding
Port forwarding is like creating a secret tunnel from the outside world to your Pi. It allows external devices to connect to your Pi by forwarding specific ports through your router. Here’s how you do it:
- Log in to your router’s admin interface. This is usually done by typing
192.168.1.1or192.168.0.1into your browser. - Find the port forwarding section. It might be under "Advanced Settings" or "NAT/QoS."
- Create a new rule and set the external port to 22 (the default SSH port).
- Set the internal IP address to your Pi’s local IP (e.g., 192.168.1.100).
- Save the settings and reboot your router.
Voilà! Your router is now forwarding SSH traffic to your Pi.
Using Dynamic DNS for Remote Access
Now, here’s the tricky part. Most home internet connections use dynamic IP addresses, which change periodically. To avoid this headache, use a dynamic DNS service like No-IP or DuckDNS. These services assign a static domain name to your dynamic IP address, making it easier to connect to your Pi remotely.
Setting Up DuckDNS:
- Visit duckdns.org and create an account using your Google credentials.
- Create a new domain name (e.g., mypi.duckdns.org).
- Install the DuckDNS client on your Pi by running the following commands:
sudo apt updatesudo apt install curlcurl https://www.duckdns.org/install.sh | bash
That’s it! Your Pi will now automatically update its IP address with DuckDNS whenever it changes.
Securing Your SSH Connection
Security should always be a top priority when exposing your Pi to the internet. Follow these best practices to keep your Pi safe:
Change the Default SSH Port
Changing the default SSH port (22) to something less common can deter automated attacks. Here’s how:
- Open the SSH config file with
sudo nano /etc/ssh/sshd_config. - Find the line that says
Port 22and change it to a different number (e.g., 2222). - Save the file and restart SSH with
sudo service ssh restart. - Update your router’s port forwarding settings to use the new port.
Disable Root Login
Root login is a security risk, so it’s best to disable it. Open the SSH config file and find the line:
PermitRootLogin yes
Change it to:
PermitRootLogin no
Save the file and restart SSH.
Use Key-Based Authentication
Passwords are easy to guess, but SSH keys are nearly impossible to crack. Here’s how to set up key-based authentication:
- Generate a key pair on your local machine with
ssh-keygen. - Copy the public key to your Pi with
ssh-copy-id pi@your-pi-ip. - Disable password authentication in the SSH config file by setting
PasswordAuthentication no.
Testing Your SSH Connection
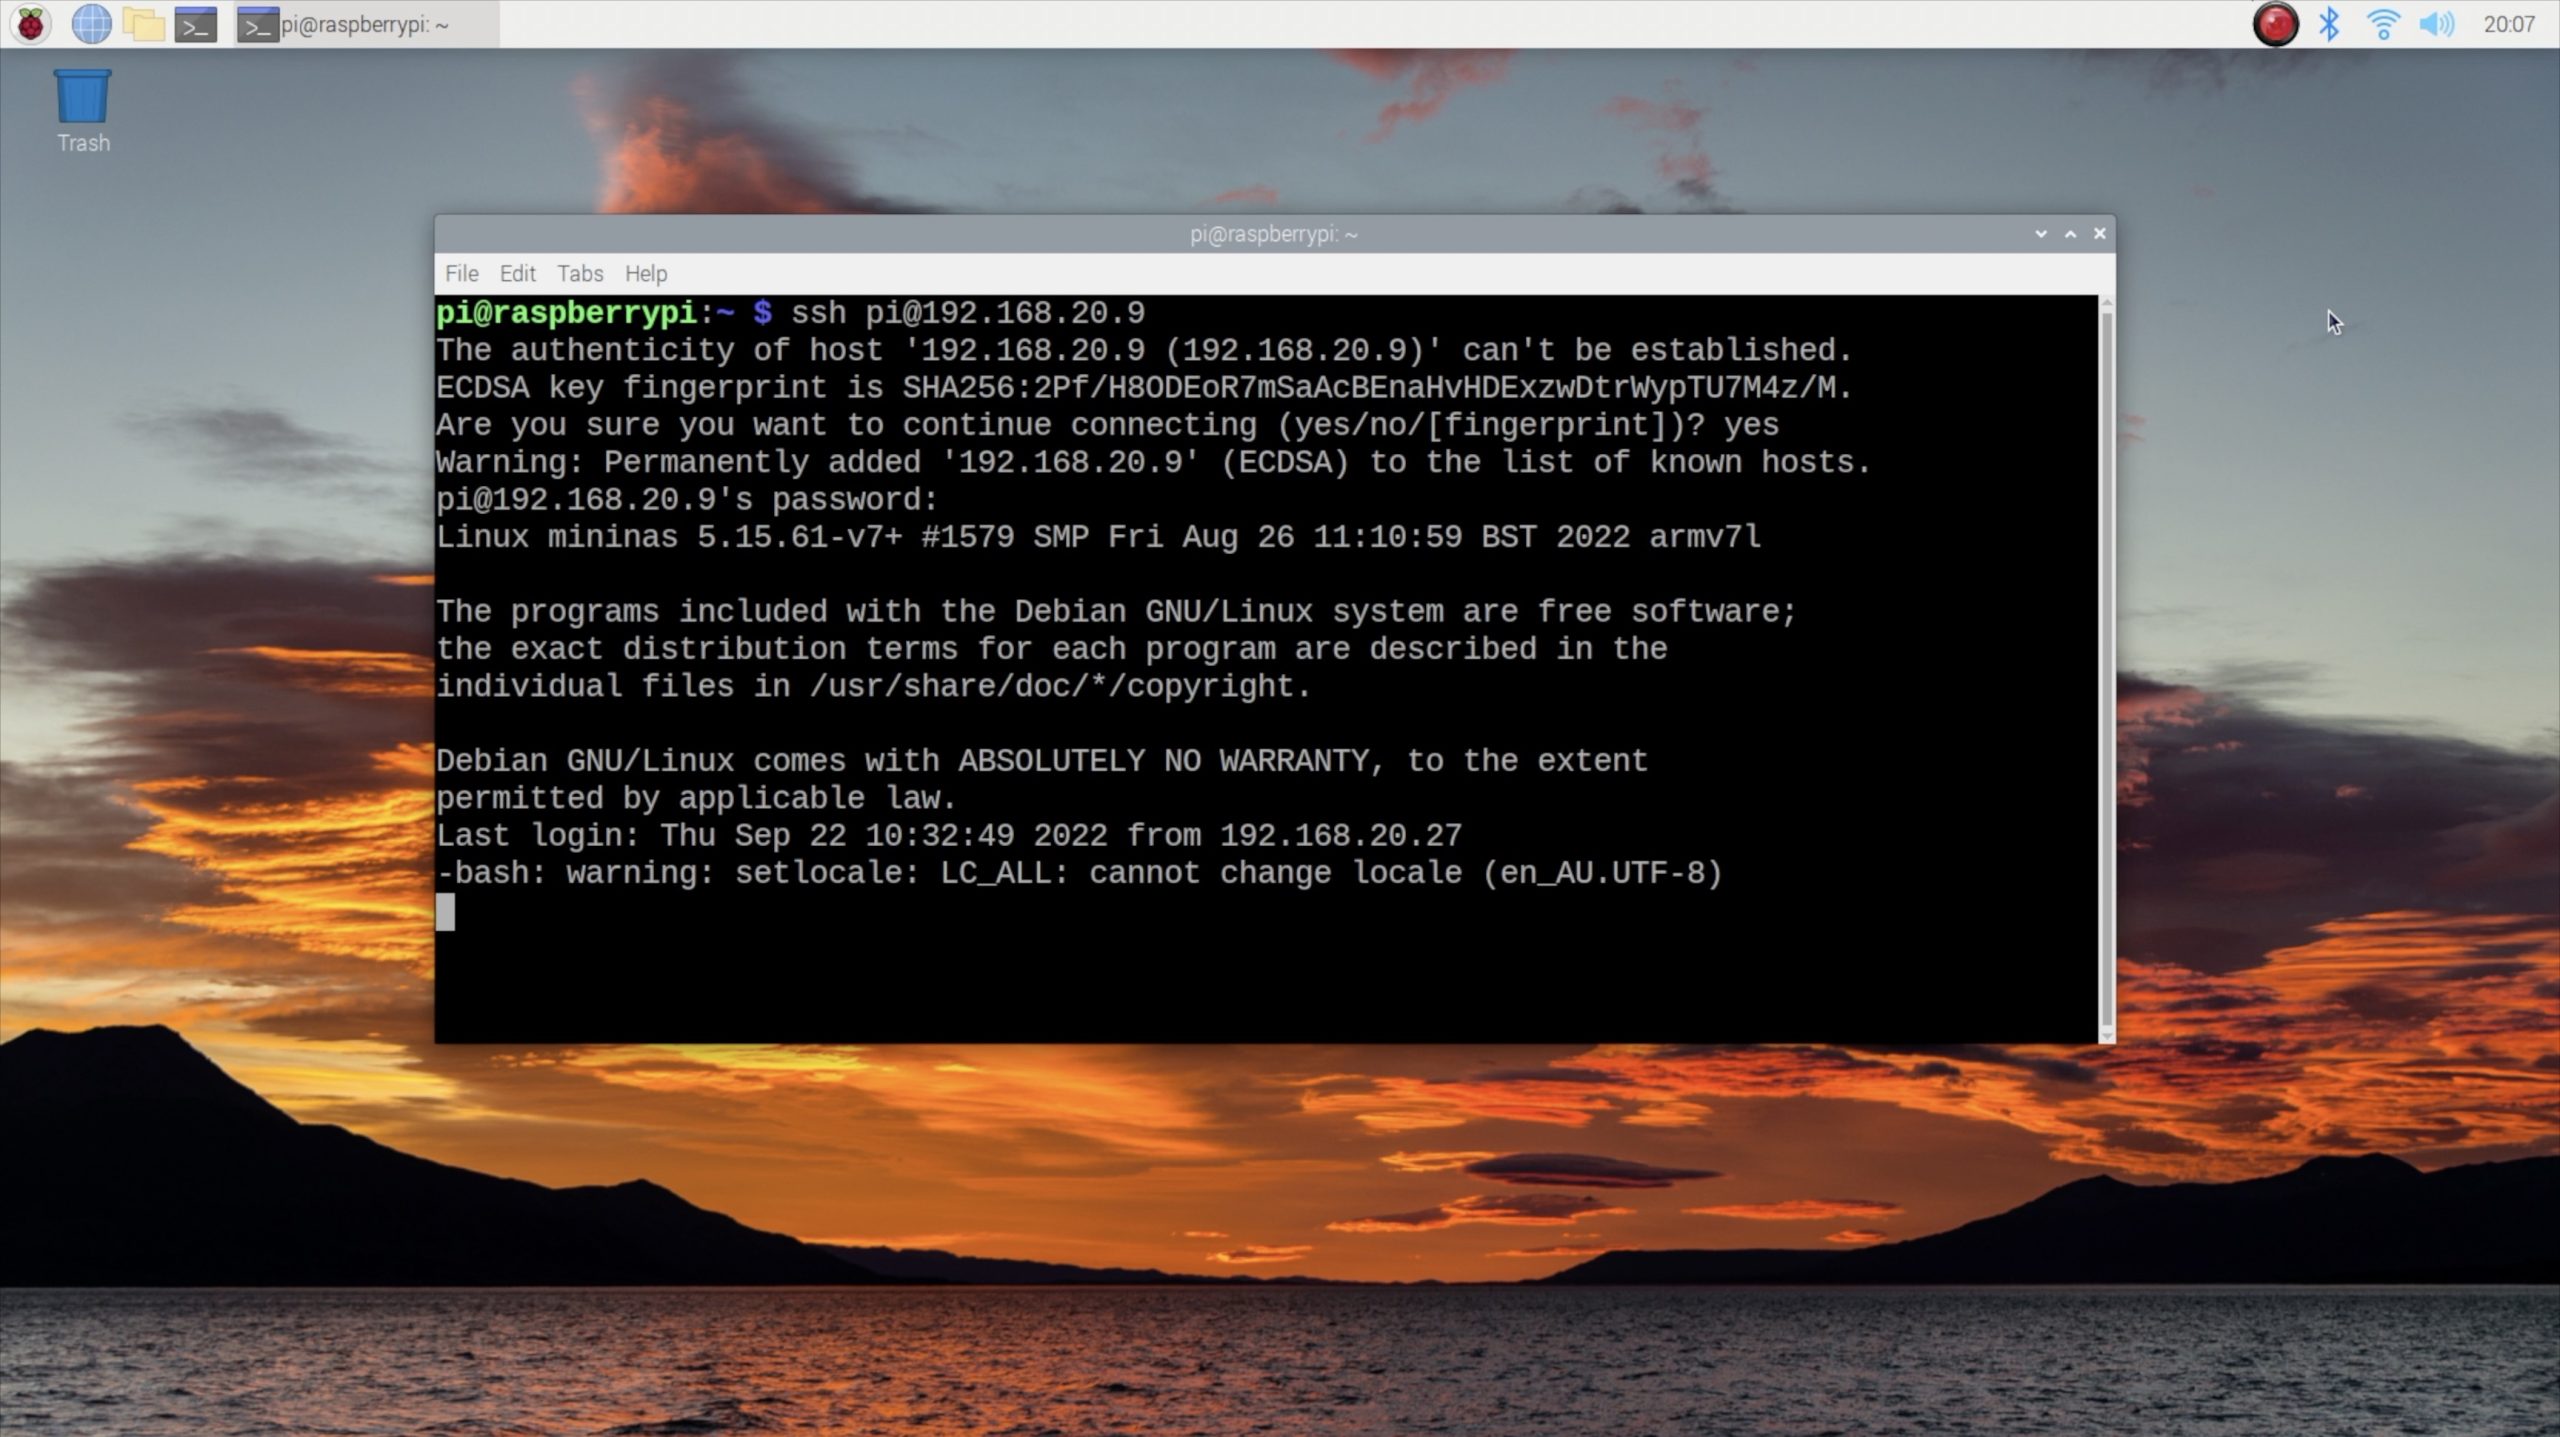
Now that everything is set up, it’s time to test your SSH connection. Open your SSH client and connect to your Pi using the following command:
ssh pi@your-domain.duckdns.org -p your-port-number
If everything is configured correctly, you should see the Pi’s terminal prompt. Congratulations! You’ve successfully SSHed into your Pi over the internet.
Common Issues and Troubleshooting
Even with careful setup, issues can arise. Here are some common problems and how to fix them:
- Connection Refused: Double-check your port forwarding settings and ensure SSH is enabled on your Pi.
- Timeout Error: Verify your Pi’s IP address and make sure your router isn’t blocking the connection.
- Authentication Failed: Ensure your SSH keys are correctly configured and try resetting them.
Advanced Tips for Power Users
For those looking to take their SSH skills to the next level, here are some advanced tips:
Use SSH Tunnels
SSH tunnels allow you to securely access services running on your Pi, like web servers or databases. Here’s how:
ssh -L local-port:localhost:pi-port pi@your-domain.duckdns.org
Automate SSH Connections
Set up SSH to automatically reconnect if the connection drops. Use tools like autossh to handle this seamlessly.
Conclusion
There you have it, folks! You’ve learned how to SSH into your Pi over the internet using simple yet effective techniques. From enabling SSH and setting up port forwarding to securing your connection and troubleshooting common issues, this guide has covered everything you need to know.
Remember, security is key when exposing your Pi to the internet. Always follow best practices, like changing default ports, disabling root login, and using key-based authentication, to keep your device safe.
Now it’s your turn! Try out these methods and let us know how it goes. Feel free to leave a comment below or share this article with your fellow Pi enthusiasts. Happy SSHing, and may your remote connections always be smooth and secure!
Table of Contents
- Understanding SSH and Why It’s Essential for Pi
- What You Need to Get Started
- Step-by-Step Guide to SSH Into Pi Over the Internet
- Enable SSH on Your Raspberry Pi
- Find Your Pi’s Local IP Address
- Setting Up Port Forwarding
- Using Dynamic DNS for Remote Access
- Securing Your SSH Connection
- Change the Default SSH Port
- Disable Root Login
- Testing Your SSH Connection
- Common Issues and Troubleshooting
- Advanced Tips for Power Users
- Use SSH Tunnels
- Conclusion