Hey there, tech enthusiasts! Are you ready to dive into the world of Raspberry Pi remote management on your Mac? This is going to be a game-changer for anyone who loves tinkering with their Pi from the comfort of their Apple device. Whether you're a seasoned pro or just starting out, this guide has got your back. So, grab a cup of coffee, sit back, and let's get rolling!
Let's face it—Raspberry Pi remote management for Mac is more than just a hobby; it's a lifestyle. Imagine being able to control your Pi from anywhere in your home or even while you're on the go. Sounds pretty cool, right? Well, that's exactly what we're going to explore today. We'll break down everything you need to know to make it happen, step by step.
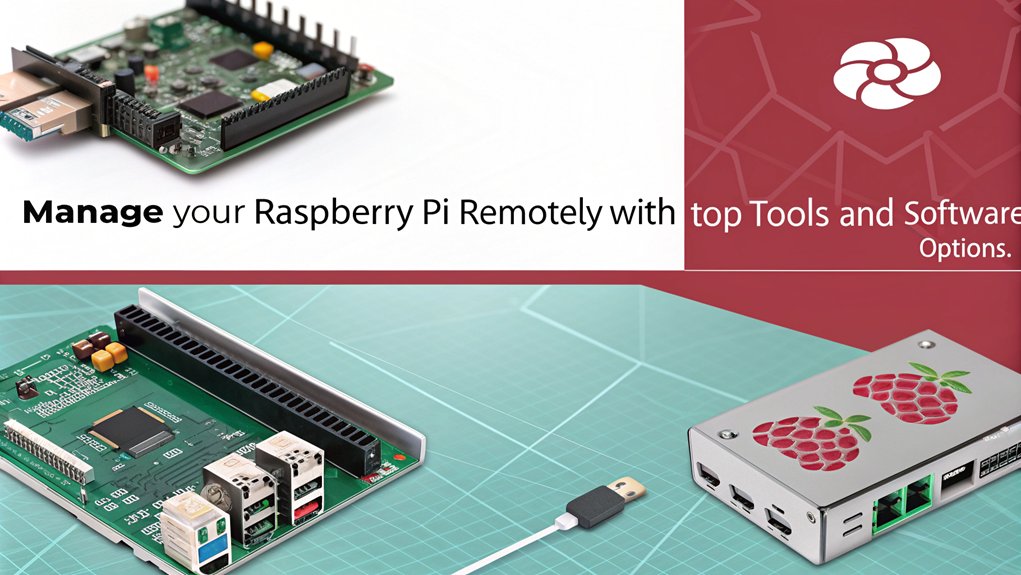
In this guide, we'll cover everything from setting up your environment to troubleshooting common issues. By the end of it, you'll have all the tools and knowledge you need to take full control of your Raspberry Pi from your Mac. Let's not waste any time—let's get started!
Read also:Meghan Markle And Prince Harry Found Sanctuary At Best Friend Jessica Mulroneys Home
What is Raspberry Pi Remote Management?
Raspberry Pi remote management allows you to control and interact with your Pi from another device, such as your Mac. It's like having a virtual extension of your Pi wherever you are. This is incredibly useful for projects that require constant monitoring or updates without needing physical access to the device.
Remote management isn't just about convenience; it's about efficiency. You can automate tasks, monitor system performance, and even update software—all from your Mac. Plus, it opens up endless possibilities for creative projects that require remote access.
Why Use Raspberry Pi Remote Management on Mac?
There are tons of reasons why you should consider managing your Raspberry Pi remotely from your Mac. For starters, it eliminates the need for an extra monitor, keyboard, or mouse. All you need is your Mac and an internet connection. Here are some benefits:
- No extra hardware needed
- Access your Pi from anywhere
- Streamline project management
- Perfect for headless setups
Setting Up Your Environment
Before we dive into the nitty-gritty of Raspberry Pi remote management, let's talk about setting up your environment. This step is crucial because it ensures everything runs smoothly when you start managing your Pi from your Mac.
What You'll Need
Here's a quick list of things you'll need to get started:
- A Raspberry Pi (duh!)
- A Mac computer
- An Ethernet cable or Wi-Fi connection
- The latest version of Raspberry Pi OS installed on your Pi
- A reliable SSH client (we'll cover this later)
Understanding SSH for Raspberry Pi
SSH, or Secure Shell, is the backbone of Raspberry Pi remote management. It allows you to connect securely to your Pi from your Mac and execute commands as if you were sitting right in front of it. Think of SSH as a secret tunnel that lets you communicate with your Pi without anyone eavesdropping.
Read also:Are Roseanne Barr And John Goodman Married In Real Life
Setting up SSH is super easy. All you need to do is enable it on your Raspberry Pi and configure your Mac to connect. Don't worry; we'll walk you through every step in just a sec.
Enabling SSH on Raspberry Pi
To enable SSH on your Raspberry Pi, follow these simple steps:
- Boot up your Raspberry Pi and log in
- Open the terminal and type
sudo raspi-config - Scroll down to "Interfacing Options" and hit Enter
- Select "SSH" and enable it
- That's it! SSH is now ready to roll
Connecting Your Mac to Raspberry Pi
Now that SSH is enabled on your Raspberry Pi, it's time to connect your Mac. This part is where the magic happens. You'll need an SSH client, and the good news is that macOS comes with one built-in. Let's see how it works.
Using Terminal for SSH
Mac's Terminal app is a powerful tool for SSH connections. Here's how you use it:
- Open Terminal on your Mac
- Type
ssh pi@raspberrypi.local(replace "raspberrypi.local" with your Pi's IP address if needed) - Enter your Pi's password when prompted
- Boom! You're now connected to your Pi
Troubleshooting Common Issues
Let's be honest—things don't always go as planned. If you run into any issues while setting up Raspberry Pi remote management on your Mac, don't panic. Here are some common problems and how to fix them:
Can't Connect to Pi via SSH
If you're having trouble connecting to your Pi via SSH, check these things:
- Ensure SSH is enabled on your Pi
- Verify your Pi's IP address is correct
- Make sure both devices are on the same network
- Restart your router if necessary
Advanced Features for Raspberry Pi Remote Management
Once you've mastered the basics, it's time to level up your skills. There are tons of advanced features you can explore to enhance your Raspberry Pi remote management experience. Let's take a look at some of them.
Using VNC for Remote Desktop Access
VNC (Virtual Network Computing) lets you access your Pi's graphical interface from your Mac. It's perfect for projects that require a GUI. To set it up:
- Enable VNC on your Raspberry Pi using
raspi-config - Download a VNC client on your Mac (RealVNC Viewer is a great option)
- Connect to your Pi using its IP address
Security Best Practices
Security is a top priority when it comes to Raspberry Pi remote management. After all, you don't want unauthorized access to your device. Here are some tips to keep your Pi safe:
- Change the default password on your Pi
- Use strong, unique passwords
- Enable two-factor authentication if possible
- Regularly update your Pi's software
Firewall Configuration
Setting up a firewall is another great way to protect your Pi. Use tools like ufw (Uncomplicated Firewall) to block unwanted connections and keep your device secure.
Conclusion
And there you have it—a comprehensive guide to Raspberry Pi remote management on your Mac. From setting up SSH to exploring advanced features, we've covered everything you need to take full control of your Pi remotely. Remember, practice makes perfect, so don't be afraid to experiment and try new things.
Now, it's your turn to take action. Whether it's leaving a comment, sharing this article with your friends, or diving deeper into Raspberry Pi projects, the choice is yours. Happy tinkering, and see you in the next one!
Table of Contents