Imagine this—you’re chilling at home, sipping coffee, and suddenly you remember that your Raspberry Pi-based IoT project is miles away in your office or another location. What do you do? Freak out? Nope! Thanks to a free remote IoT platform with SSH key access, you can remotely control and manage your Raspberry Pi device without breaking a sweat. Remote IoT platforms are like superhero tools for tech enthusiasts, empowering you to monitor, manage, and interact with your devices from anywhere in the world.
Now, before we dive deep into the world of remote IoT platforms, let’s address the elephant in the room. Why should you care? Well, if you’re into tinkering with IoT projects, automating your smart home, or even building complex industrial systems, having remote access to your Raspberry Pi is not just a luxury—it’s a necessity. And the best part? You don’t have to spend a fortune to get started.
In this article, we’ll explore how to set up a free remote IoT platform using SSH keys on your Raspberry Pi. We’ll cover everything from the basics of SSH keys to advanced tips for securing your setup. So, buckle up and let’s get started!
Read also:Queen Elizabeths Approval Of Princess Margarets Affair With Roddy Llewellyn A Heartwarming Revelation
Table of Contents
- What is SSH and Why Does It Matter?
- Understanding IoT Platforms
- Raspberry Pi Basics
- Setting Up SSH on Raspberry Pi
- Exploring Free Remote IoT Platforms
- Security Tips for Remote Access
- Common Issues and How to Fix Them
- Best Practices for Managing IoT Devices
- Real-World Use Cases
- Conclusion
What is SSH and Why Does It Matter?
SSH, or Secure Shell, is like a digital key that lets you access and control remote devices securely. Think of it as a secure tunnel that allows you to communicate with your Raspberry Pi without worrying about hackers or prying eyes. SSH is the backbone of remote IoT platforms, and mastering it is crucial if you want to take your projects to the next level.
Why SSH Rocks
Here are a few reasons why SSH is the go-to method for remote access:
- Encryption: SSH uses strong encryption to protect your data during transit.
- Authentication: With SSH keys, you can log in without typing passwords, making the process faster and more secure.
- Flexibility: SSH supports a wide range of commands and protocols, making it versatile for various applications.
Understanding IoT Platforms
IoT platforms are the glue that holds your smart devices together. They provide a centralized hub for managing, monitoring, and controlling IoT devices. Whether you’re building a smart home or an industrial automation system, a good IoT platform can make your life a lot easier.
Key Features of IoT Platforms
- Device Management: Add, remove, and configure devices with ease.
- Real-Time Monitoring: Keep an eye on your devices’ performance and status.
- Data Analytics: Analyze data collected by your devices to gain valuable insights.
Raspberry Pi Basics
The Raspberry Pi is a tiny but powerful computer that’s perfect for IoT projects. It’s affordable, versatile, and supported by a massive community of developers and enthusiasts. If you’re new to the Raspberry Pi world, don’t worry—getting started is easier than you think.
Setting Up Your Raspberry Pi
Before you can use your Raspberry Pi for remote IoT projects, you’ll need to set it up properly. Here’s a quick guide:
- Install the latest version of Raspberry Pi OS.
- Connect your Raspberry Pi to a monitor, keyboard, and mouse (or use a headless setup).
- Update your system with the command
sudo apt update && sudo apt upgrade.
Setting Up SSH on Raspberry Pi
Now that you have your Raspberry Pi up and running, it’s time to enable SSH. This will allow you to access your device remotely using a secure connection.
Read also:Mark Consuelos Defends Wife Kelly Ripa Against Bikini Body Shamers
Enabling SSH
Here’s how you can enable SSH on your Raspberry Pi:
- Open the Raspberry Pi Configuration tool by typing
sudo raspi-configin the terminal. - Go to the "Interfacing Options" menu and select "SSH".
- Choose "Yes" to enable SSH and reboot your Raspberry Pi.
Generating SSH Keys
SSH keys are like digital fingerprints that allow you to log in securely without typing a password. Here’s how to generate them:
- Open a terminal on your local machine and run the command
ssh-keygen. - Follow the prompts to create a public and private key pair.
- Copy your public key to your Raspberry Pi using the command
ssh-copy-id pi@your-raspberry-pi-ip.
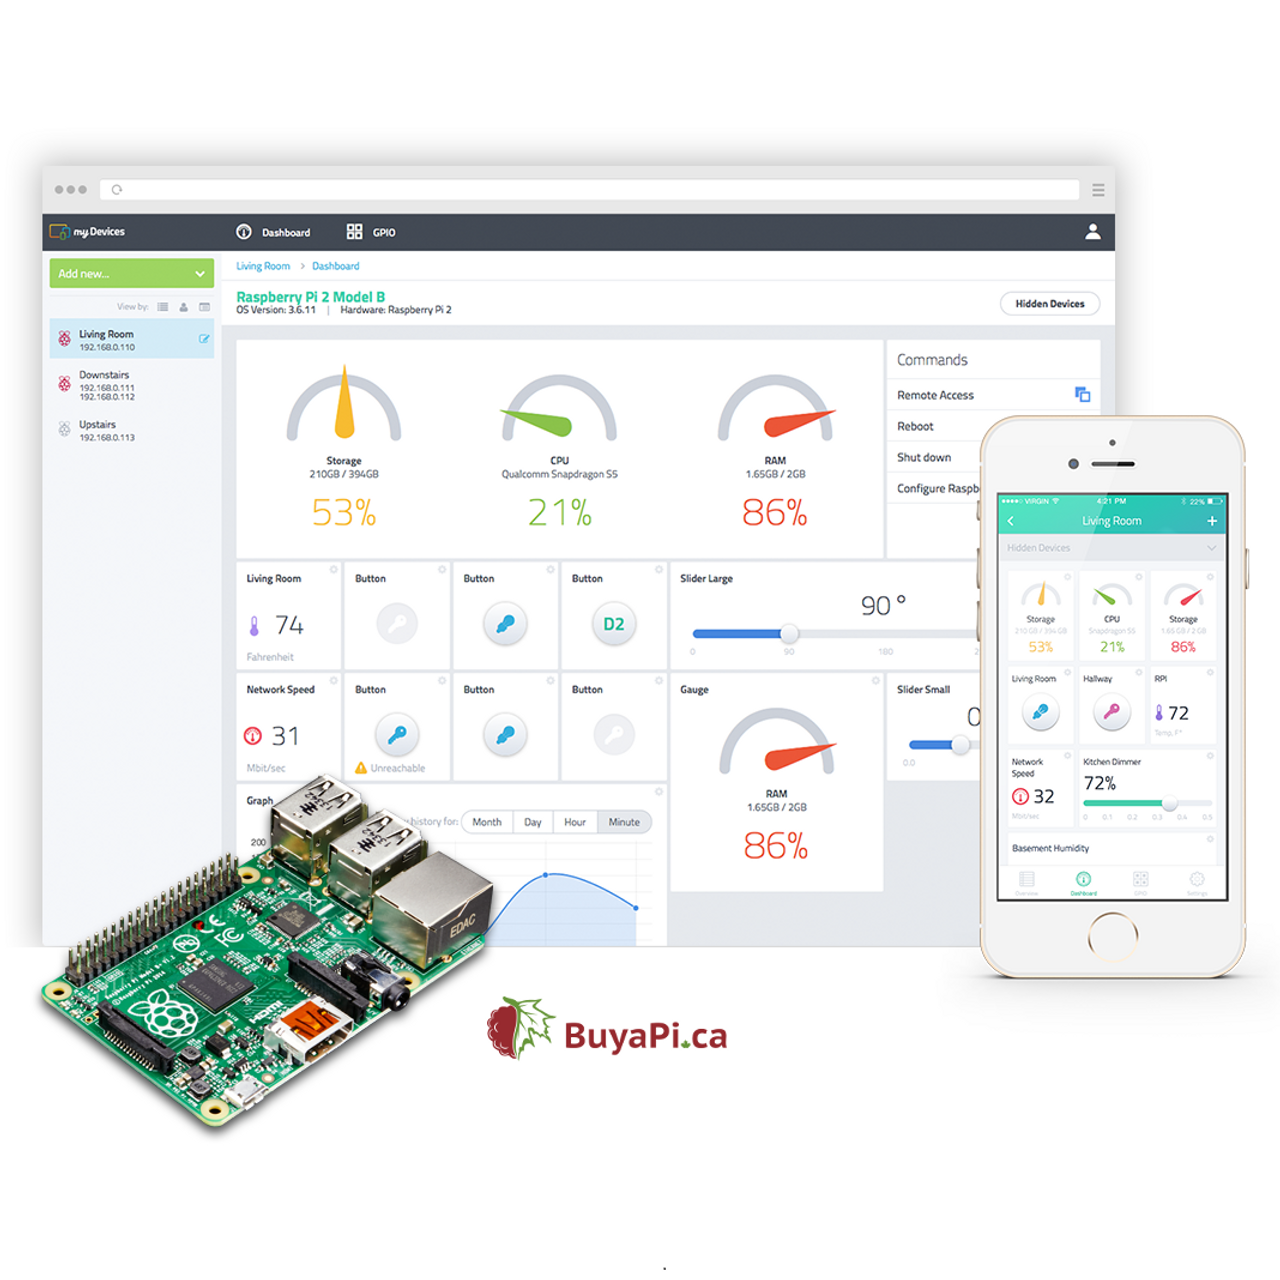
Exploring Free Remote IoT Platforms
There are several free remote IoT platforms that you can use to manage your Raspberry Pi projects. These platforms offer a range of features, from device management to data visualization. Let’s take a look at some of the best options.
Popular Free Remote IoT Platforms
- Adafruit IO: A user-friendly platform with support for MQTT and REST APIs.
- ThingsBoard: An open-source platform that offers advanced analytics and visualization tools.
- Freeboard: A lightweight platform that allows you to create custom dashboards for your IoT devices.
Security Tips for Remote Access
Security should always be a top priority when working with IoT devices. Here are a few tips to keep your Raspberry Pi safe:
- Use Strong Passwords: Avoid using common passwords or leaving the default credentials.
- Disable Password Authentication: Once you’ve set up SSH keys, disable password-based login to prevent brute-force attacks.
- Update Regularly: Keep your system and software up to date to protect against vulnerabilities.
Common Issues and How to Fix Them
Even the best-laid plans can go awry. Here are some common issues you might encounter when setting up a remote IoT platform and how to fix them:
- Connection Issues: Make sure your Raspberry Pi is connected to the internet and that your firewall settings allow SSH traffic.
- Authentication Failures: Double-check your SSH keys and ensure that they’re correctly configured on both your local machine and Raspberry Pi.
- Performance Problems: If your Raspberry Pi is running slow, try disabling unnecessary services or upgrading your hardware.
Best Practices for Managing IoT Devices
To get the most out of your remote IoT platform, follow these best practices:
- Document Everything: Keep detailed notes on your setup, including IP addresses, configurations, and troubleshooting steps.
- Monitor Regularly: Keep an eye on your devices’ performance and address any issues as soon as they arise.
- Back Up Frequently: Regularly back up your data and configurations to prevent data loss in case of hardware failure.
Real-World Use Cases
Remote IoT platforms have countless applications. Here are a few real-world examples:
Smart Home Automation
Use your Raspberry Pi to control smart home devices like lights, thermostats, and security cameras. With a remote IoT platform, you can manage everything from your phone or laptop.
Industrial Automation
In industrial settings, IoT platforms can be used to monitor and control machinery, optimize processes, and reduce downtime. Raspberry Pi-based systems can provide a cost-effective solution for small and medium-sized businesses.
Conclusion
In conclusion, setting up a free remote IoT platform with SSH key access on your Raspberry Pi is a game-changer for tech enthusiasts and professionals alike. By following the steps outlined in this article, you can unlock the full potential of your IoT projects and take control of your devices from anywhere in the world.
So, what are you waiting for? Dive in, experiment, and let us know how it goes. Leave a comment below or share this article with your friends if you found it helpful. And don’t forget to check out our other articles for more tips and tricks on all things tech!